Search This Blog

Showing posts with label No-baked. Show all posts

Saturday, 19 November 2016

Easy Muah Chee


Recipe adapted from Fun at Sassy's Kitchen.

Ingredients
1 cup glutinous rice flour
1 cup of water
1 tsp sugar
Premix sugared peanut powder


Instructions

  1. Mix flour, water & sugar until mixture is smooth.
  2. Put into microwave for 3mins.
  3. Cut pieces of muah chee and mix into sugared peanut powder.

Tuesday, 22 September 2015

Tiramisu (Egg & Alcohol free)

The original recipe is from my dear friend, The Baking Biatch!  Super easy to make & yummy!
I tweaked the recipe a bit because I'm serving this dessert to the kids..so I omit the alcohol :)

Ingredients
*Makes a 23cm x 23cm tub

42 pcs ladyfinger biscuits 
2 cans of Nescafe original coffee

Some cocoa powder for sieving

Cream mixture
500g mascarpone cheese (for a slightly different taste, you can also replace with cream cheese too)
2 tbsp vanilla extract
4 tbsp caster sugar
4 tbsp milk
4 tbsp thickened cream 


Method
  1. Mix all the cream mixture ingredients together until well combined (I used a wooden spoon).
  2. Pour coffee into a bowl, dip both sides of the ladyfinger biscuits in it, and lay it cross the tub.
  3. Spread a layer of the cream mixture on top of the lady fingers.
  4. Sieved cocoa powder over the cream mixture until it covers the mixture.
  5. Repeat step#2-4 for the next layers.
  6. Send in to chill and set in the fridge for at least 6 hours (I left mine overnight)


Tuesday, 1 September 2015

Wilton Decorator's Cream

There are many types of buttercream recipes around, and this is one of my favourite to use, because it is make up of shortening instead of butter, hence it doesn't have a very strong buttery taste, and it doesn't melt easily.  Best of all, it also does not harden hard in the fridge :)

Ingredients
*Yield 3 cups
207g white vegetable shortening (I used crisco.  You may also substitute with butter or margarine)
1tsp vanilla extract
2tbsp milk
500g icing sugar
1/2 egg white
Pinch of salt

Method

  1. Cream shortening, vanilla and milk. Then add in egg white, continue to cream until well combined.
  2. Add in dry ingredients and mix until well combined.
    * For softer consistency, add 1 tsp of water at a time and mix well, until you reach the desired consistency. 


These are some of the decorations that I piped with this recipe :)


Wednesday, 26 August 2015

Clear Glaze for Fruits

Be it decorating a cake, tart or pie.  If you are using fruits as part of your decoration, you'll need to apply a layer of glaze over it to give it a shiny gloss and to 'trap' the moisture within the fruits.   I've tried a couple of recipes and these two are my favourites to use :)

Photo credits to Baking Project.


Glaze #1
I learnt this during the schooling days from my Home Economic teacher :)

Ingredient
1tbsp apricot jam
1tsp hot water

Method
- Mix both ingredients together, stir to quickly dissolve jam with hot water.
- Apply mixture over fruits with a small brush.


Glaze #2
Recipe origins from this link.

Ingredient
1/2cup water
1/4cup sugar

1/4cup water
1tbsp corn starch

Method
-  Add 1/2cup water and 1/4cup sugar in a small saucepan, over medium heat, stir until sugar dissolved.
-  Mix corn starch with 1/4cup water together and pour this mixture into the hot mixture on the stove, while pouring it in, keep stirring constantly. Allow the mixture to simmer for one to two minutes until it has thickened, then remove the pan from heat.
- Set aside to cool in room temperature,then brush it on the fruits.

Tuesday, 25 August 2015

Chocolate Ganache

I always used this recipe to make my chocolate ganache.  It's really simple, a great keeper for decorative use!  And yummy too!
Ingredients
200g dark chocolate compound
1 can Nestle cream (equivalent to 170g) - room temperature

Method
  1. Melt chocolate in microwave for 1min,
  2. Remove from microwave, add in cream and stir to a smooth paste. (If it is still lumpy, you can bring it back to the microwave and heat up for another 10sec, then stir again.  Repeat this step until the mixture is smooth.   But note to do in smooth timing to prevent the mixture from getting burnt).
  3. Cover the mixture with cling wrap and set aside to set (takes around 2hr in room temperature to set to piping consistency). 


I got the original recipe from FB.

 Mixture should reach a smooth consistency with a shiny gloss.

Cover with cling wrap and set aside to set.

Friday, 21 August 2015

Snow Skin Mini Mooncakes

This year I decided to make my own mooncakes!  Before the actual period, I started my practising first on this snow skin mooncake recipe that a friend gave me.  It sure is hard work, because you need to do a lots of 'hands-on' work!  I distributed out them to my colleagues and all gave me a thumbs-up for it!  All worth the effort!

This round, I made them in chocolate and matcha flavour :)


Ingredients
*makes about 28 mini moon cakes
For the snow skin:
150g gaofen
150g icing sugar
50g shortening
160g gold water

Matcha flavour:
1 tsp matcha powder
2 drops green coloring

Chocolate flavour
1 tsp cocoa powder
2 drops chocolate coloring

For the filing:
420g lotus paste (I used the no-sugar type from Phoon Huat)
65g of melon seeds

Method

  1. In a mixing bowl, place lotus paste & melon seeds together and knead until both ingredients is well combined.
  2. Divide the lotus paste into portions of 30g each, then roll each portion into balls.  cover with cling wrap and set aside.
  3. Sieve gaofen, icing sugar together.  
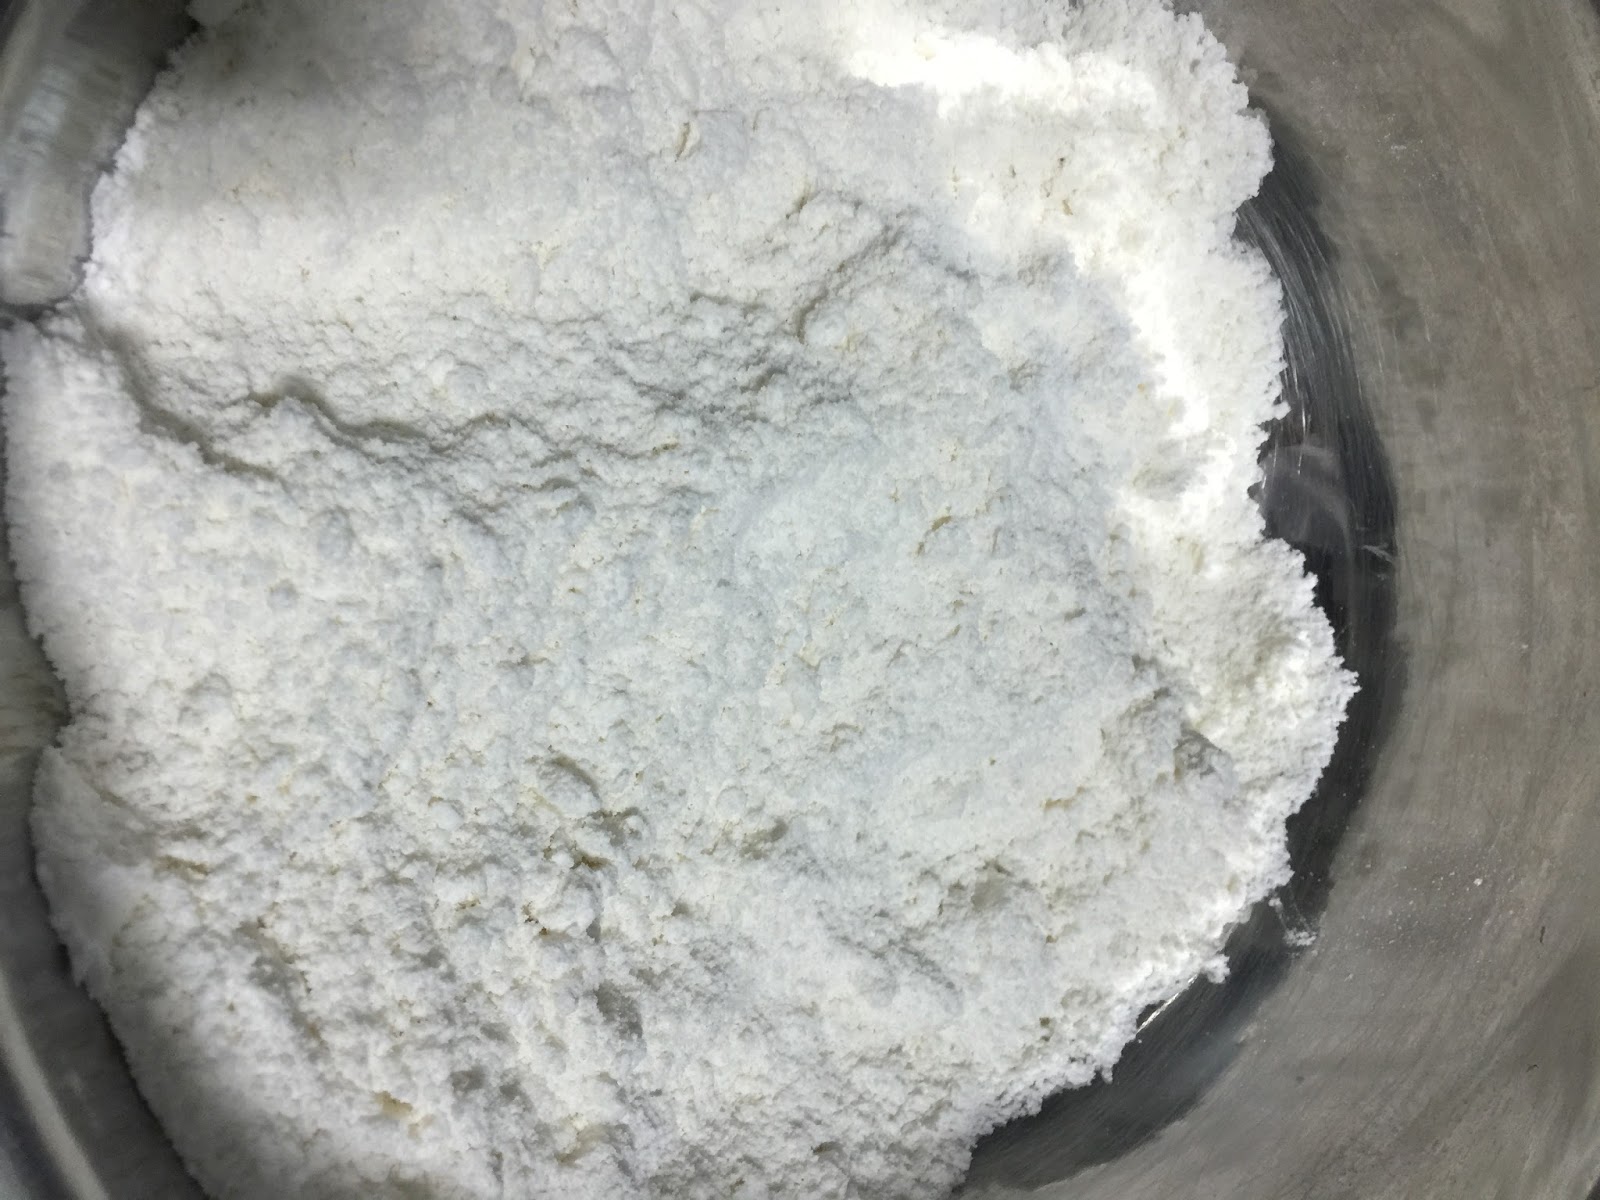
  4. Rub in shortening until they resemble bread crumbs, then add in cold water and knead to a dough.
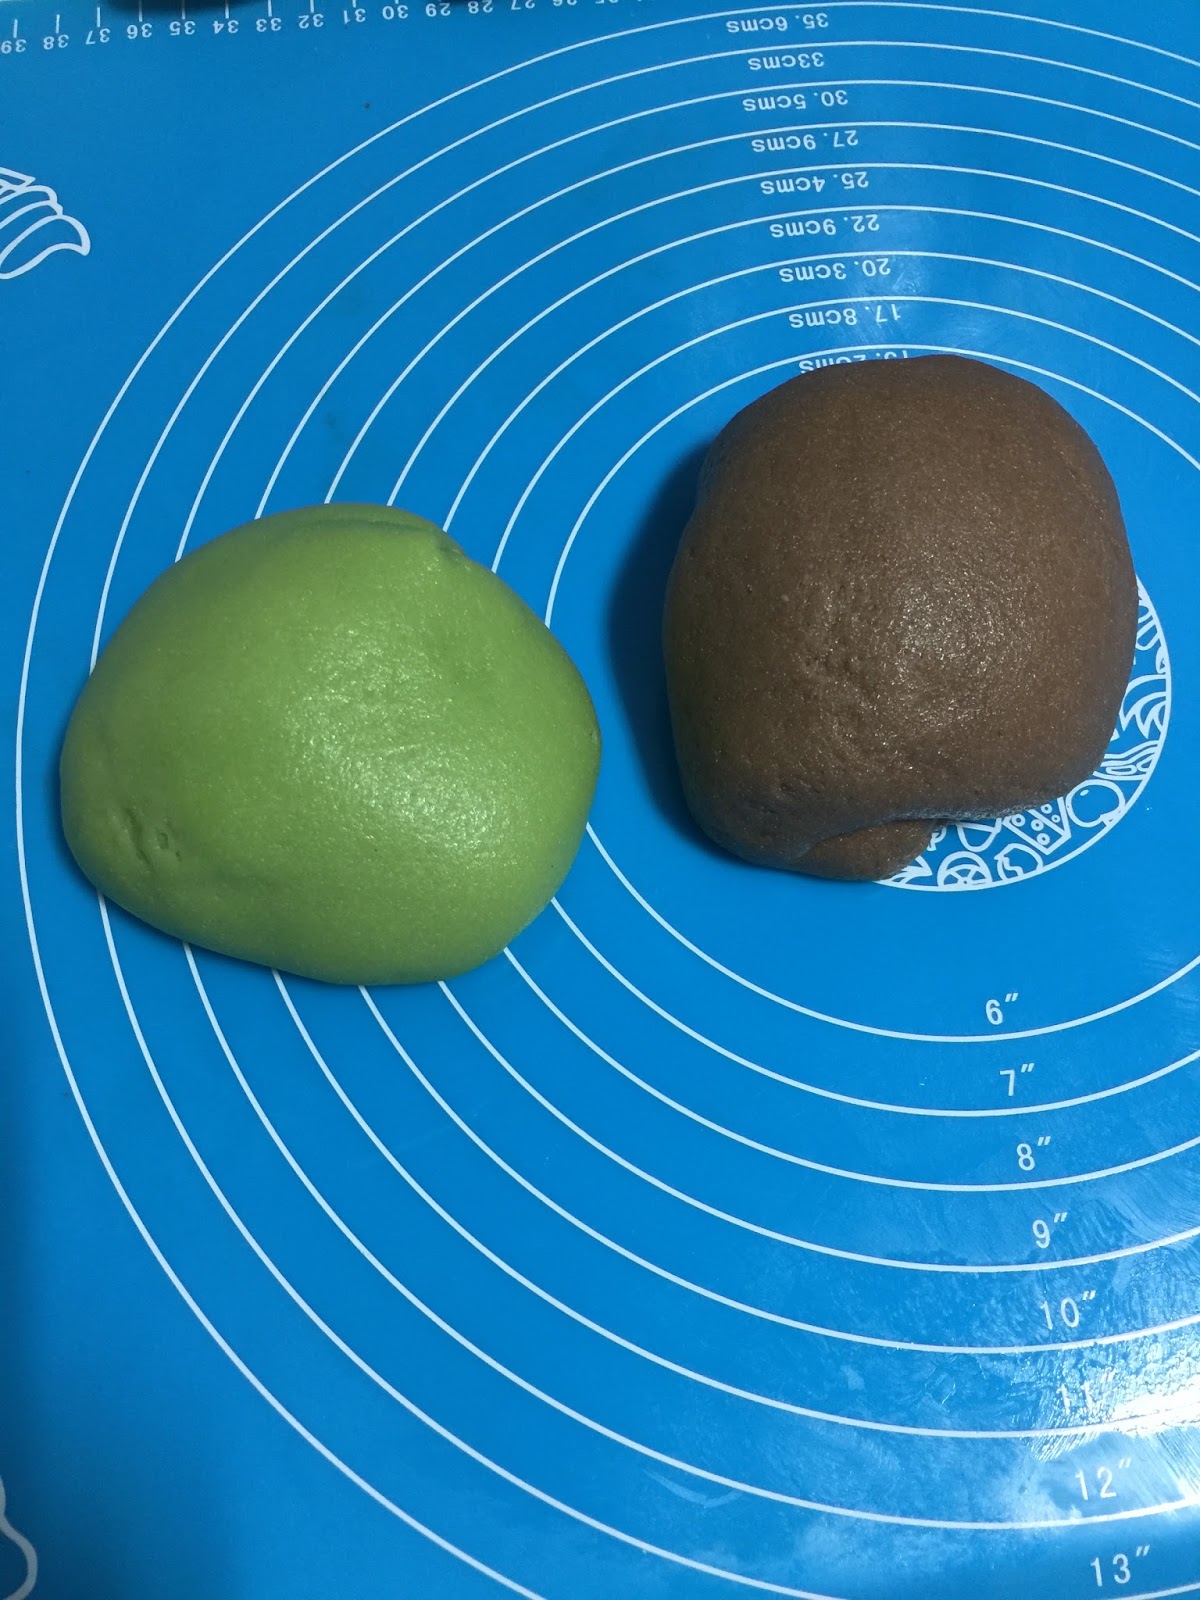
  5. Divide dough into 2 equal portions.
  6. Knead in matcha powder & green coloring by hand until the colour are spread out evenly. 
  7. Repeat step#6 for chocolate flavour.
  8. Divide the dough into portions of 25g each, then roll each portion into balls.
  9. Take a ball of dough, and flatten it until you get a thin circle.  Place a ball of filing in the center and wrap and seal it up.  Roll again to smooth the surface.  Repeat steps for the balance.
  10. Sprinkle some gaofen into the mould, pour out the access flour.  Press down the dough to the mould for imprint.  Repeat steps for the balance.
  11. Put the mooncakes in a container and store them in the fridge.
Rub in shortening to the gaofen mixture

Knead lotus paste with the melon seeds until 

Roll up the filings

Knead in the colourings and flavourings

This are the mini moulds that I used.

Parts of my completed products.  I think they look quite cute :)

Packed up to share with my colleagues :)

-----------------------------------------------------------


My last batch for 2015! :)


Tuesday, 11 August 2015

Honey Soyabean Steamed Cake

My neighbor makes the best steamed cake and my kids absolutely adored them!  They would literally gobbled up everything whenever she sent over some!  Today I chanced upon Aunty Shuzhen and she briefly told me her recipe, so I decided to gave it a try tonight, with a slight modification on the flavour :)

This is my first steamed cake!  It's so easy to make them (all done within 30mins!) and they taste great!  Light fragrance of soyabean milk and honey!   Sweetness is just right!


Ingredients
2 eggs
3tbsp sugar
2tbsp soyabean milk
2tbsp canola oil
3tbsp condensed milk
1tsp honey
2/3 cup plain flour (ard 130ml/cc in a measuring cup) - sieved
2tsp baking powder

Method
1.  Prepare steamer (heat up in medium heat and tie a towel on the steamer cover) and 7 muffin cases in seperate ramekin/small muffin baking tins. 
2.  Beat egg, sugar and milk until well combined.
3.  Add oil, condensed milk and honey.  Mix until well combined.
4.  Combined flour and baking powder, mix them well with a fork.  Then mix into egg mixture until smooth.
5. Transfer batter into muffin case.  Fill them up to almost close to the brim (this is my first try, so I thought i should fill them up 80% full like baked muffins.  But I was wrong, hence you can still see the cases edge around my cakes!).
6.  Send to steam for 10-13min.  Once done, remove to cool.


I made the mistake of filling them 80% full!  Fill it up close to the cases brim!

Wonderful dome!


Soft and spongey texture!


Another separate batch that I made with my new silicon moulds :)

Saturday, 8 August 2015

Mint Yoghurt No-Baked Cheesecake

Been a while since I made this dessert, and my girl asked for a jelly layer, so here it is...

Adapt & modified this recipe from The Baking Biatch.


Ingredients
*6" round tin or 7" square tin
  • 200g digestive biscuits → pound into fine grains
  • 75g castor sugar
  • 80g unsalted butter 
  • 250g plain yoghurt (can be replaced with thickened cream)
  • 250g cream cheese → room temperature
  • 2.5 tablespoon gelatin -> → to be dissolve with 100ml hot boiling water (keep stirring until gelatine dissolved)
  • 1/2 Konnyaku jelly powder
  • 1/2tsp mint essence
  • 1-2 drop green coloring
  • Small pieces of chocolate
Method
  1. Lined the base and side of the baking tin with aluminium foil. May omit this step if using removable base tin.
  2. Melt butter in microwave.  Pour and mix into biscuit grains. 
  3. Spoon mixture into the base of tin, firm with the underneath of the spoon, leave to set in fridge.
  4. Pour hot booling water into the gelatin.  Stir to dissolve and set aside.
  5. Whisk cream cheese with sugar till smooth, add in dissolved & cooled gelatin, continue whisking, adding lastly, the yoghurt.  
  6. Pour mixture on top of the biscuit crust and leave to set in fridge for at least 3hrs.
  7. Place small pieces of chocolate on top on the half set cream cheese mixture.
  8. Boil 250g of water, add in jelly powder, stirring continually throughout.  Add in mint essence and coloring.  Leave to cool for around 5min (continue to stir to prevent the mixture from solidifying).  Then using a landle, transfer the mixture on top of the cream cheese  mixture.
  9. Bring back to fridge to set overnight. 


Another one that I made without the jelly layer, but with multiple colours and kolam drawing :)

Thursday, 9 July 2015

Home Made Ice Cream

My buddy came across this video in facebook and made a successful attempt at it, so I decided to give it a try too.  Indeed, it works!  It's so so so easy!  Home-made ice cream without using ice-cream maker!  I made vanilla & chocolate mint this time, and will explore other flavours soon!


Ingredients
*yields me 2 tubs of ice creams
500g whipping cream (I used Paul's) - chilled
400-440g condensed milk
1/2 tsp vanilla extract
1tbsp green coloring
1/2 tsp mint extract
Some mini-chocolate chips

Method
*Vanilla Flavour 


  1. Beat whipping cream till soft peaks form, then add in condensed milk and continued beating until mixture is well-combined.
  2. Add in vanilla extract and mix well.
  3. Pour into plastic container and cover it, keep in freezer overnight!

*Chocolate Flavour 

  1. Beat whipping cream till soft peaks form, then add in condensed milk and continued beating until mixture is well-combined.
  2. Add in mint extract, green coloring & chocolate chips and mix well.
  3. Pour into plastic container and cover it, keep in freezer overnight!

The basic ingredients!


Beat till soft peaks formed


Add the condensed milk


All ready to send to set in the fridge!


It's all done!  Kiddos enjoying the ice-cream!

Sunday, 5 July 2015

Durian Pudding

I've got a handful of durians left from my durian feast, so I saved some for baking :)  After baking a durian cotton cake, I used the balance durians to made this really moist and creamy puddings!  They taste almost like those that you could get at Emicakes!


Ingredients:
*yields 6 cups

300g Durian flesh
140g Sugar (I like is less sweet but you can increase the amount if you have a sweeter tooth!)
300ml milk
450ml Hot water
2tbsp + 1.5tsp Gelatine 

Method:
1.  Blend durian into fine paste, then add in milk, continue blending till well combined.  Set aside in the blender.

2.  Heat hot water, add sugar and gelatine.  Stir until melted.

3.  With a siever over the blender, pour in the mixture to the durian milk mixture.

4.  Blend until mixture is well combined, then pour into moulds/cups.

5.  Put to chill in the refrigerate for at least 6 hours.

6.  Once chilled, you can topped up with some fruits, chocolate or even coconut milk with gula melaka!


Thursday, 14 May 2015

Oreo Cheesecake in Mason Jar

I'm a sucker for zakka-themed stuffs, they never fail to get me all excited!  Have always seen on the internet on the desserts made in mason jar, and I think they looked really pretty!  I ordered some mini jars from Taobao, and finally put them to good use! :)

This recipe originates from The Baking Biatch.


Ingredients
  • (A) 300g oreo biscuits  pound into fine grains
  • (B) 100g oreo biscuits  pounded into smaller uneven pieces
  • 80g unsalted butter 
  • 75g castor sugar
  • 250g plain yoghurt
  • 250g cream cheese  room temperature
  • 2.5 tablespoon gelatin ->  to be dissolve with 100ml water
Method
  1. Remove filing from oreo biscuits and pound the biscuit into fine grains.
  2. Take 50g of pounded biscuits, side aside.
  3. Double boil butter, leave to cool.  Pour and mix into the balance biscuit grains. Leave aside.
  4. Whisk cream cheese with sugar till smooth, add in dissolved & cooled gelatin, continue whisking.
  5. Add yoghurt, then lastly, the 50g pounded biscuit crumbs.

    Filling up the jar :)
  6. Spoon in 1.5 tbsp of (A) mixture, shake them to balance it out.
  7. Spoon in 1.5 tbsp of the cheese mixture, shake them to balance it out.
  8. Spoon in 1.5 tbsp of (B) mixture, shake them to balance it out.
  9. Spoon in 1.5 tbsp of the cheese mixture, shake them to balance it out.
  10. Spoon in 1.5 tbsp of (A)+(B) mixture, shake them to balance it out.
  11. Leave to set in fridge for 1hr.